Contents:
Creating Your Event
1. Navigate to the "Events" tab under "Menu & Content."
2. Click the "Add Custom Event" button in the top left corner of the page.

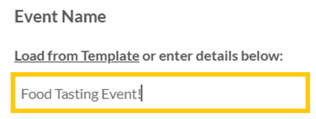
The text you enter in the "Event Name" box will appear as the title of your event.
-png-2.png?width=535&height=187&name=annotely_image%20(6)-png-2.png)
4. Next, upload an image for your event. This step is optional — you can create your event without an image — but adding a photo makes it stand out on your Events page.
Click the camera box to select an image from your SpotHopper gallery or upload a new one.
5. Add the event description to the "Event Details" box and describe what your event is about.

Highlight key details with the"bold,""italic," "underline," and "strikethrough" options to make your text stand out.
You can also hyperlink text to make it clickable and direct guests to a specific page — for example, link "Reserve" text to your reservations page.
To add a hyperlink, select the text you want to make clickable and click the chain icon in the formatting toolbar.
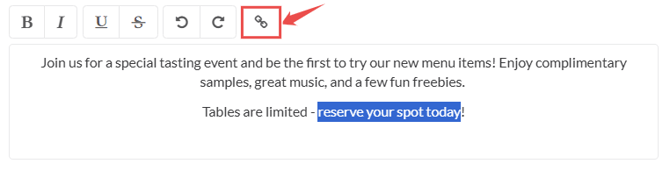
Then, enter the URL and hit "OK."

Once added, the hyperlinked text will display in red to indicate it is clickable.

💡The "Event Details" box doesn’t include built-in emojis, but most special characters are supported and will display on your Events Page. You can copy and paste emojis directly into your description.
6. Now that your event details are filled in, you need to set up the Event Time and save the event. Depending on whether and how your event repeats, you have a few options.
One-Time Event
If your event does not repeat, simply choose the date and time and click the green "Create Event" button.

If your website icon box is checked (this is checked by default), your Event will appear on the Events page shortly.

Recurring Event
If your event repeats, you will need to set the recurrence. To do so, you must first add the start date of the event:

Under the "Does not repeat" drop-down, you have a few regular intervals to choose from:

Daily - If you are scheduling a daily event, choose that option.
Every (Day of the week) - This repeats your event on the specific day selected. In the example above, the start date is a Friday, which gives you the"Every Friday" option in the drop-down. If your start date is a Thursday, you will have "Every Thursday" to select.
Monthly on (occurence of the selected day) - This option repeats your event based on the specific day and week of the month. Since the start date above is a third Friday in the month, the "Monthly on third Friday" option is available. If your event is on a second Monday, you will have "Monthly on second Monday" to choose.
Annualy on (date) - For events that occur once a year on the same date.
Every Weekday (Monday to Friday) - For events that occurs every weekday.
Once you select one of the five recurring options from above, the following popup will appear:

This will allow you to set the event end date. You have three options here:
- To set the event to end after 6 months.
- To choose the exact end date on the calendar.
- Or set the event to end after a certain number of occurrences. For instance, if you choose "Monthly on third Friday" and set it to end after 3 occurrences, your event will repeat three times — each on the third Friday of the month.
Custom Recurrence
If the event doesn't recur in one of the regular intervals listed in the dropdown, choose the last, "Custom" option:

A pop-up will appear, where you can set your custom event recurrence:
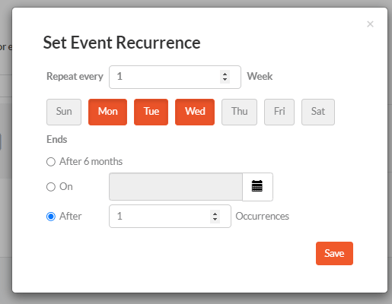
- Choose specific days of the week and set the event to repeat every week or a set number of weeks
-
You can set the event to end after 6 months, on a specific date, or after a number of occurrences
Once your event date is set, click the green "Create Event" button. ![]()
If the website box is checked, the event will appear on the Events page on the website shortly.
Saving a Template for Your Special Event
If your event repeats irregularly or you’re unsure of the schedule, it’s a good idea to save it as a template. This way, you can easily update and publish it later without recreating the event from scratch.
Once you fill in the details and set the date/time, make sure to check the "Save for Future Use" option below the "Create Event" button.

Later, when you need to recreate that same event, you can access your saved template through the "Load from Template" link:
-png-1.png?width=614&height=197&name=annotely_image%20(8)-png-1.png)
This will open a list with all of your saved templates to choose from:

Once you select the desired event template, all event details — including time and recurrence (if previously set) — will automatically populate. Simply choose the start date and click "Create Event."
Templates can only be saved when creating a new event. Once the event has been saved, the option to save it as a template will no longer be available when editing.