Contents:
Getting Started with Virtual Host
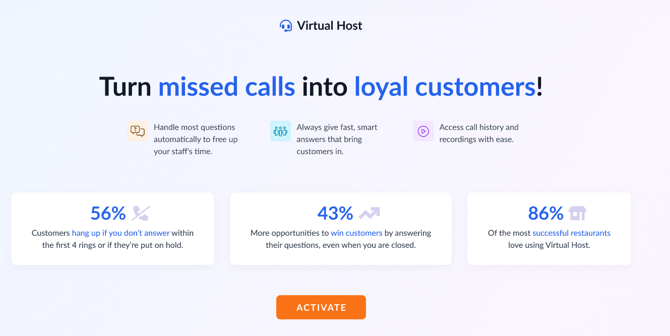
The Virtual Host helps you turn missed calls into loyal customers by:
-
Automatically handling common questions to free up your staff’s time
-
Providing fast, smart responses that engage potential customers
-
Giving you access to call history and recordings for easy review
To start using the Virtual Host, log in to your SpotHopper account and select the "Virtual Host" tab from the left-hand sidebar.
Once on the Virtual Host page, click the orange "Activate" button to enable the feature.
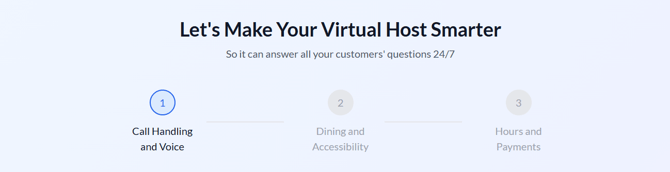
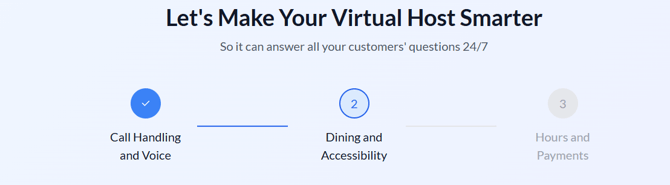
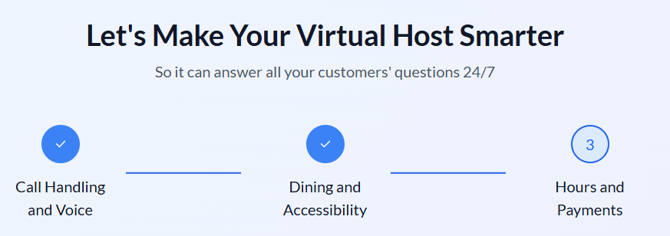
Complete the Virtual Host 3 Setup Wizard
After activating Virtual Host 3, the Setup Wizard will open automatically.
It will guide you through three quick sections to personalize your host’s voice, dining information, and hours, ensuring it can accurately answer your callers’ questions 24/7.
Tip: Taking the time to complete the Setup Wizard carefully ensures your Virtual Host provides accurate, helpful responses to every caller.
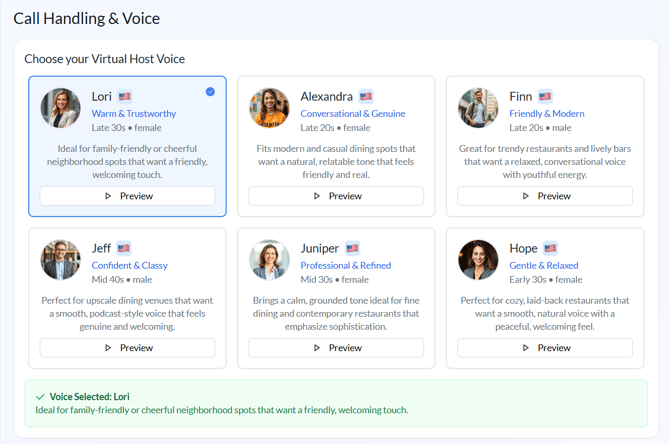
Step 1: Call Handling & Voice
Choose Your Virtual Host Voice
- You’ll see several voice options (e.g., Lori, Alexandra, Finn, Jeff, Juniper, Hope) with short descriptions.
- Click Preview to listen, then select the one that best fits your restaurant’s tone.
- When selected, the card is highlighted and marked with a blue check.
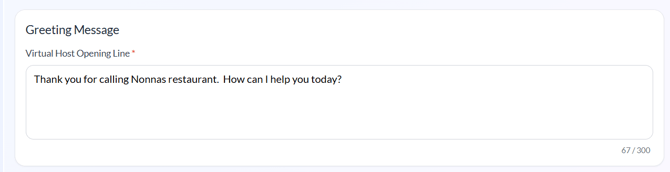
Set Your Greeting Message
- In the “Virtual Host Opening Line” field, enter the message callers hear first.
Example: “Thank you for calling Nonnas restaurant. How can I help you today?” - Keep it warm and short (under 250 characters).
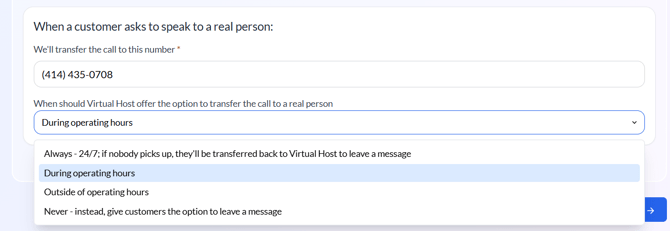
Choose When to Transfer Calls to a Real Person
- Enter the phone number where VH3 should forward calls.
- Pick one of the following options from the dropdown:
- Always – Forwards all calls anytime.
- During Operating Hours – Only forwards when your team is open.
- Outside Operating Hours – Sends calls to staff when closed.
- Never – Customers can leave a message instead.
 When done, click the "Next Step →" button in the lower right corner to jump to the second step.
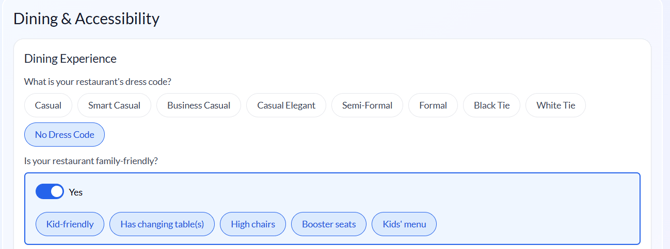
Step 2: Dining & Accessibility
Dining Experience
- Select your restaurant’s dress code (e.g., Casual, Smart Casual, Formal).
- Toggle Yes if your restaurant is family-friendly and select any relevant options such as High chairs, Kids’ menu, or Booster seats.
Pets and Outdoor Seating
- Indicate if pets are allowed (inside, outside) and whether you have outdoor seating.

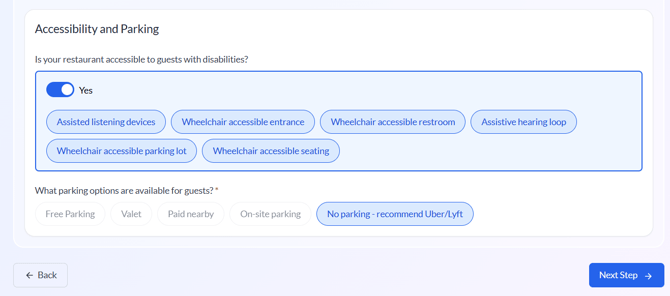
Accessibility & Parking
- Turn on Accessible to guests with disabilities if applicable, then check available features such as Wheelchair accessible entrance or Assistive hearing loop.
- Choose your parking options (Free Parking, Valet, Paid Nearby, On-Site Parking, or No Parking).
Click "Next Step →" to continue.
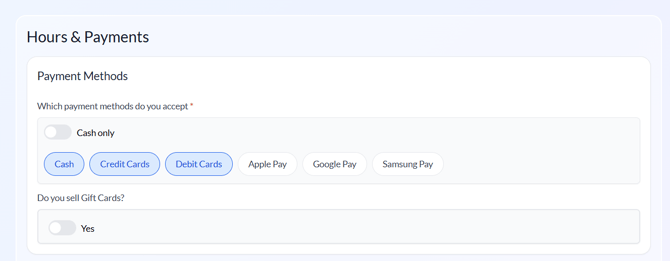
Step 3: Hours & Payments
Select Payment Methods
- Check all the payment types you accept — Cash, Credit Cards, Debit Cards, Apple Pay, Google Pay, Samsung Pay.
- Toggle Yes if you sell Gift Cards.
Set Restaurant Hours
- Enter your daily opening and closing times.
- Toggle Closed for days when you’re not open.
- If your kitchen hours differ, switch Yes and add those separately.
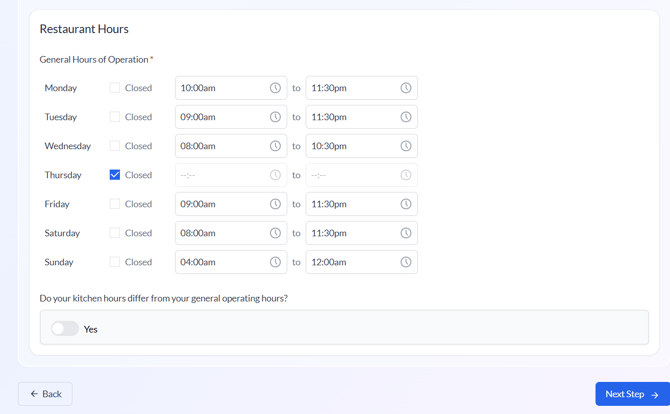
Click Next Step → to move on.
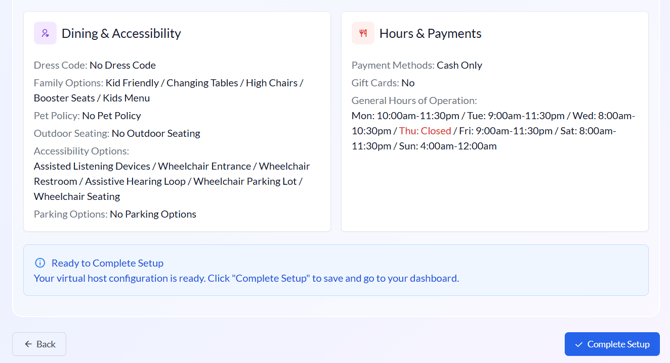
Step 4: Review & Finish
After filling out all sections of the Setup Wizard, you’ll land on the "Review & Finish" page.
Here you can confirm every detail of your Virtual Host 3 configuration before completing setup.
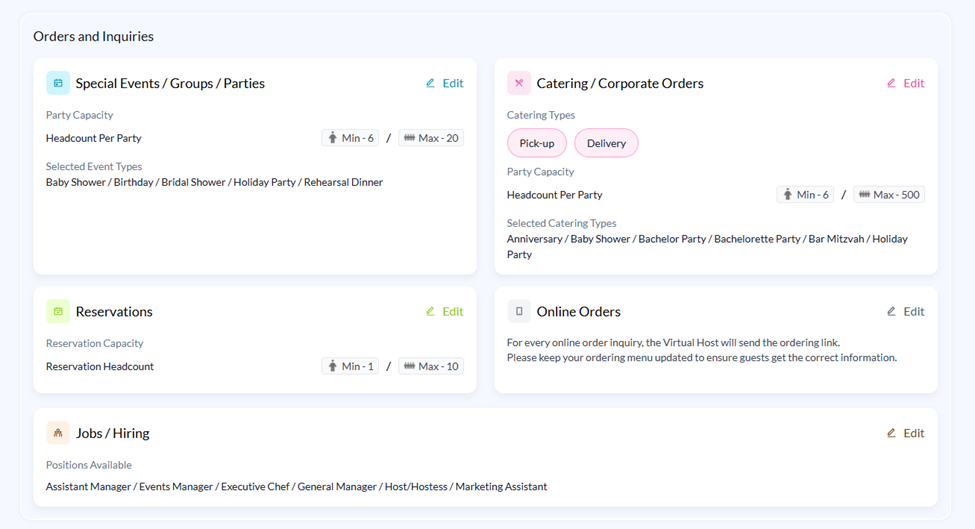
Review Your Settings
Each category expands into a summary card:
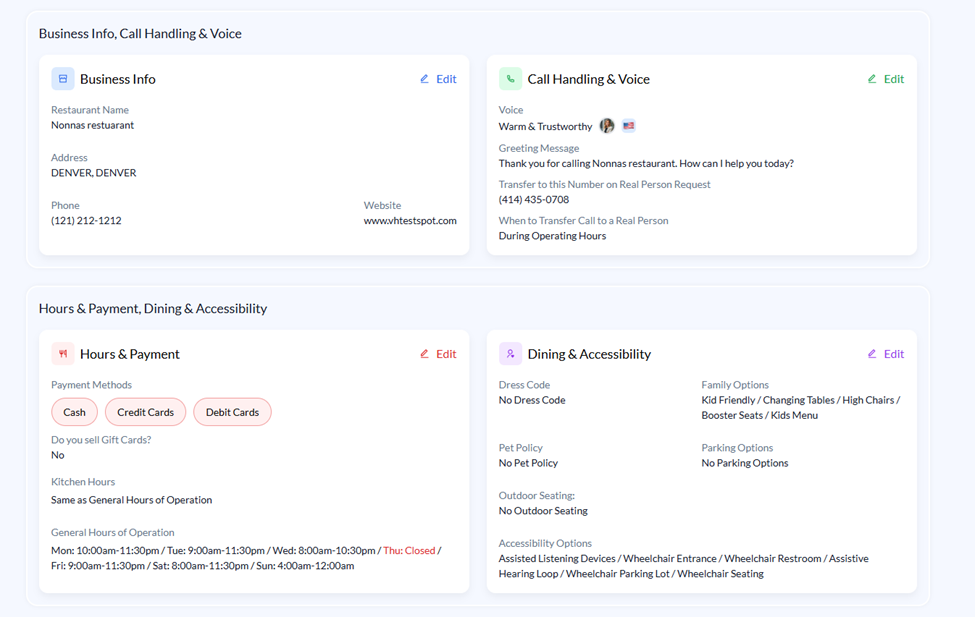
- Call Handling & Voice – lists the chosen voice, greeting message, transfer number, and transfer-time preference.
- Dining & Accessibility – shows dress code, family options, pet and outdoor-seating policies, accessibility features, and parking.
- Hours & Payments – displays your operating hours, accepted payment methods, and gift-card settings.

Make Edits if Needed
- Click Back to reopen the previous section and adjust any field.
- Changes are saved automatically as you move through the wizard.
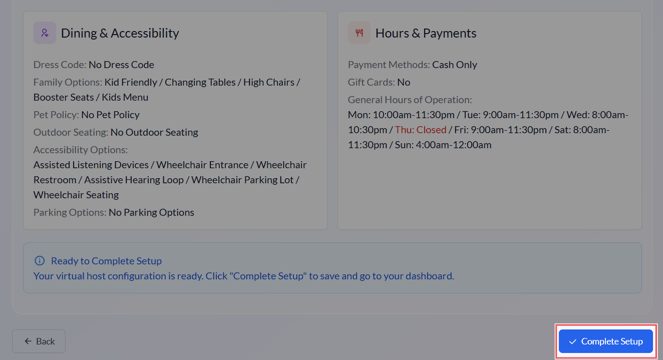
Complete Setup
- Once everything looks correct, click "Complete Setup" at the bottom-right corner.
- VH3 confirms your configuration and returns you to the main Virtual Host Dashboard.
- From there, you can immediately begin receiving calls or fine-tune additional options anytime.
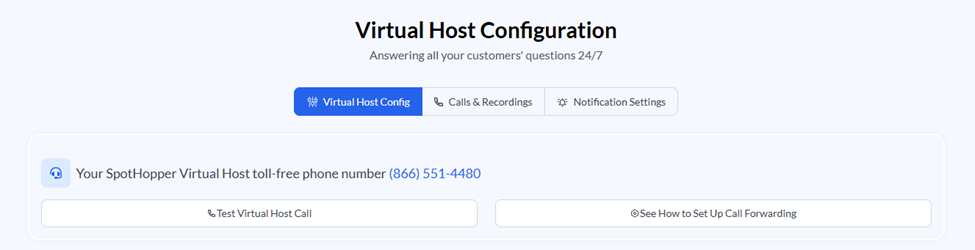
Your Virtual Host 3.0 Dashboard
Once setup is complete, you’ll land on your Virtual Host Configuration Dashboard.
This is where you can view, edit, and manage every part of your Virtual Host in one place.
View Calls & Recordings
Once you open the "Virtual Host" page, click on the "Calls & Recordings" tab found at the top of the screen.
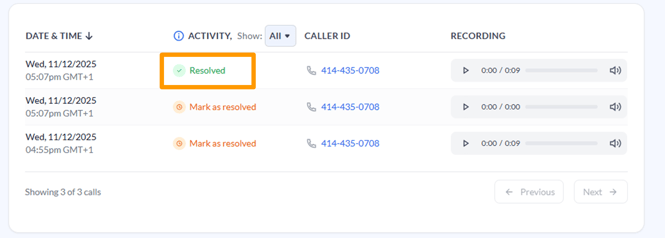
This will open a page where you will see a list of the call history along with the recorded messages.
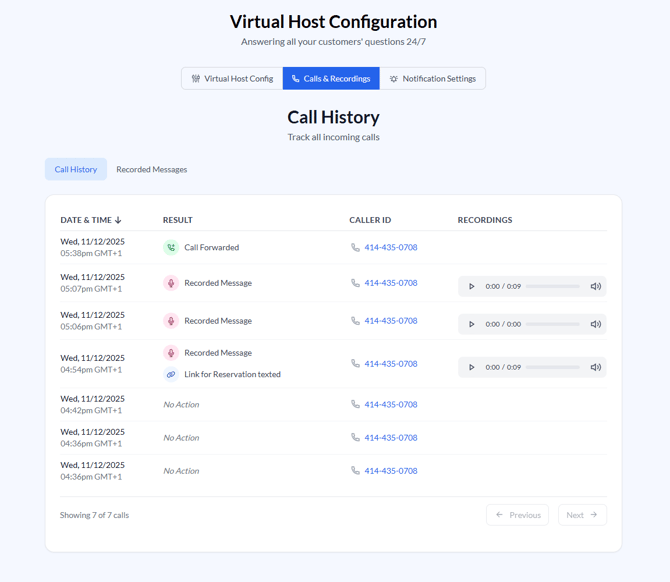
Unresolved requests will be marked as such, so nothing will end up overlooked or forgotten:
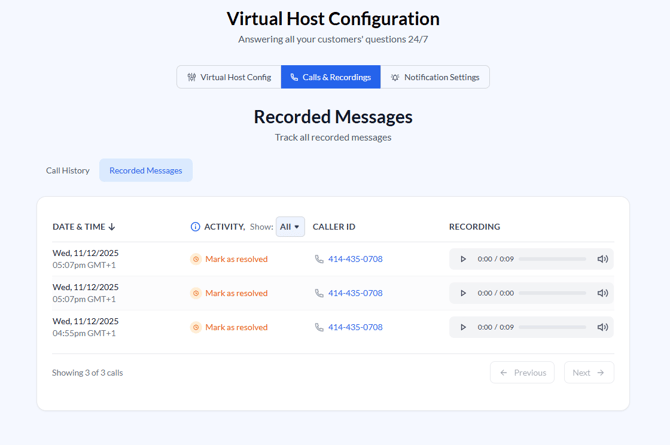
Once resolved, click the "Mark as Resolved" button under Activity and choose "Yes."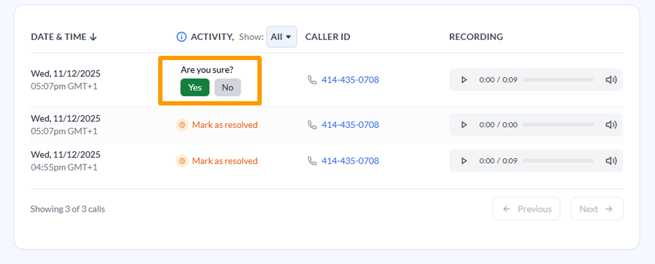
This will change the status to "Resolved.”
Notification Recipients
Under the "Notification Settings" tab on the "Virtual Host" page, you can add up to three recipients who will receive notifications for newly recorded messages.
Each recipient can be configured to receive notifications via both email and text message.
