Contents:
- Reviewing Scheduled Emails
- Editing and Customizing Emails
- Editing Email Information
- Editing Email Content
- AI-Generated Content - Approving Email Blasts
Reviewing Scheduled Emails
Start by navigating to the "Emails" page under "Marketing."

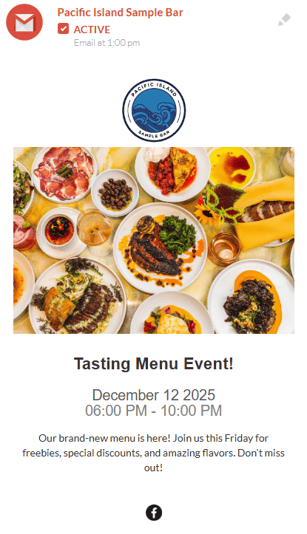
Here, you will see a list of your upcoming email blasts, displayed in chronological order.
Each preview includes a visual snapshot of the content, and active emails also show the scheduled send time.
A banner above each email indicates where it was generated from, such as Events or Promotions — making it easy to tell what type of campaign you’re reviewing.
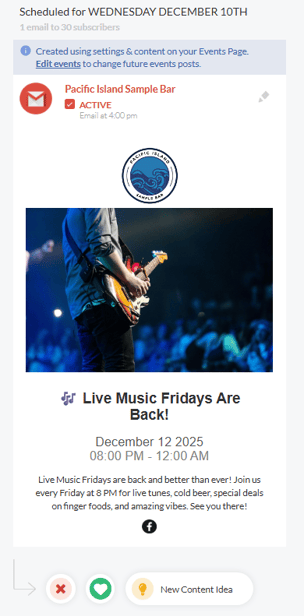
💡Reviewing your upcoming emails regularly helps ensure your campaigns are accurate, timely, and ready to send.
Editing and Customizing Emails
Once you’ve opened the Emails page, you can easily update the details and content of your emails before they’re sent.
Editing Email Information
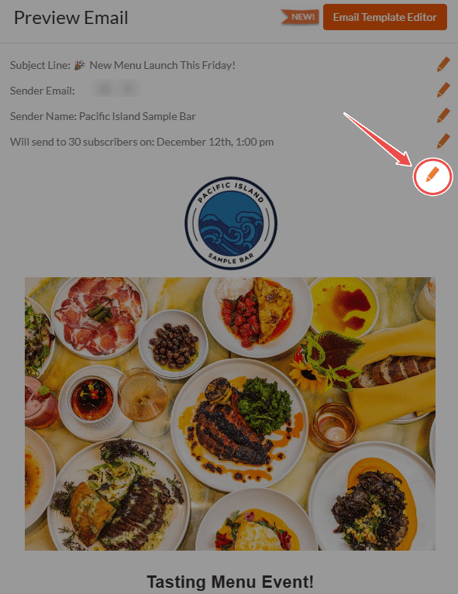
In the top-right corner of each email preview, you’ll see a pencil icon.

Click it to open the Email Information editor — this controls how your email appears in your customers’ inboxes.
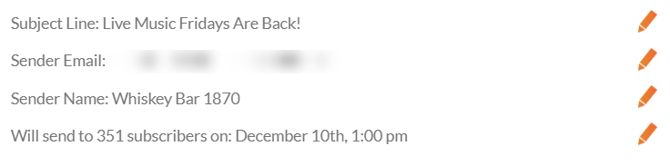
Here, you can update:
-
Subject line – what customers see as the title of the email
-
Sender email – the email address where replies will be sent to
-
Sender name – the name displayed as the sender
-
Scheduled send date and time – when the email will be sent
Editing Email Content
You can also edit the content (body) of your emails, though the available options depend on where the email was generated. Most email blasts are created from Promotions, which offer more flexibility and customization than those generated from Events.
Promotion Emails
For emails generated from Promotions, you will have a pencil icon on the right side of each section. Each icon corresponds to a different element:
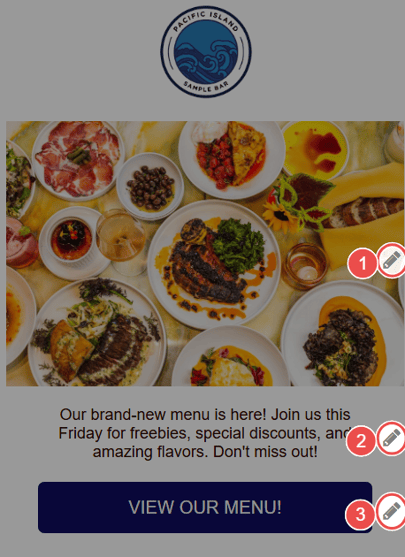
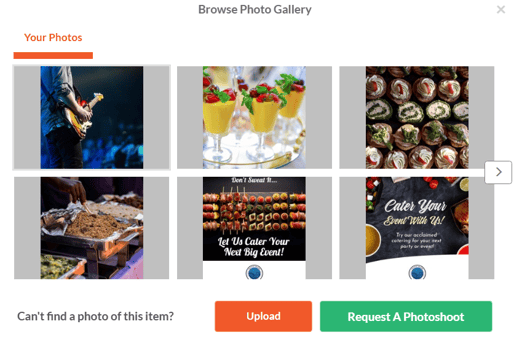
- Image - Click the pencil icon next to the image to replace it with another from your gallery or upload a new one.
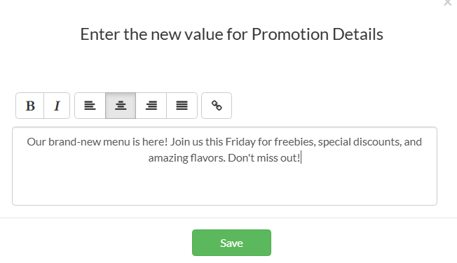
- Text - Update the main text of your email. You can also add hyperlinks or make it stand out with simple formatting tools.
- Button - Clicking the pencil icon next to a button will prompt you to open the associated promotion, as CTA buttons can’t be edited directly from the email page. Select Proceed > to open and update the promotion.

Promotion emails also include a plus (+) icon at the bottom of the email preview, which lets you add additional sections to your message.
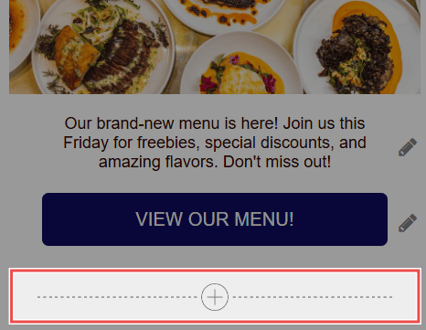
These sections can be used to highlight different types of content — for example, an upcoming event, a featured menu item, or a special offer.
💡Adding extra sections is a great way to include multiple updates in one email rather than sending separate blasts for each.
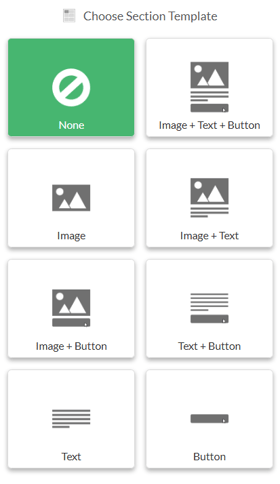
When you click the + icon, you can choose from several layout options:
-
Image + Text + Button – a balanced layout ideal for featured promotions or
announcements. -
Image – displays a single image, great for visual highlights.
-
Image + Text – pairs an image with supporting text.
-
Image + Button – includes an image and a call-to-action button.
-
Text + Button – adds a short text section with a button or link.
-
Text – for simple text-only announcements.
-
Button – inserts a standalone button for a single call-to-action.
The + section feature is available only for Promotion emails. Event emails have a fixed layout and do not support additional sections.
Event Emails
Emails generated from Events have a simpler layout and fewer editing options, but you can still make adjustments directly from the Email Preview page.
After opening the preview by clicking the pencil icon in the top-right corner of the event email, you’ll see another pencil icon on the right side of the page — just below the email information.
Click this icon to edit the body text of the event email. You can update the message directly in the text box, adding links or using simple formatting like bold or italics to highlight key details.
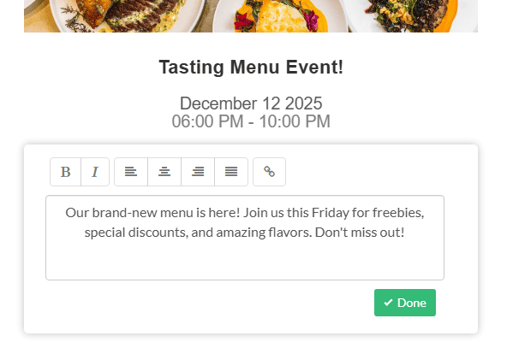
⚠️ Note: The event name, date/time, and image come directly from the event details and can’t be changed here. To update them, edit the event from the Events page, and the email will automatically reflect your changes.
AI-Generated Content
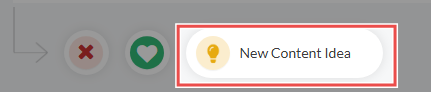
Want to refresh your email or try a different tone? Use the New Content Idea feature to instantly generate AI-powered alternatives for your message.
You’ll find the New Content Idea button below the email preview.
-
Click New Content Idea to generate a new version of your email content.
-
The editor will display both your original content and a new AI-generated version, making it easy to compare, edit, or combine the parts you like.

-
When you’re happy with the result, click Done to apply your updated version.
Tip: Use the AI tool to give your content a fresh, engaging tone, but always personalize it before approving to keep your brand’s voice consistent.
Approving Emails
At the top left of the Emails page, you’ll find the approval setting that determines how your emails are sent.
-
Sending on AutoPilot – All generated emails are automatically approved and will send at their scheduled time. No action is needed.
-
Approve Each Email First – Each email requires manual approval before it’s sent.
If "Approve Each Email First" is selected, you can easily approve the email using the green heart icon below the email preview.
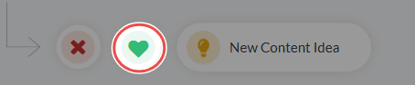
Clicking the heart activates (approves) the email for sending.
Before activating an email — or if your emails are set to send automatically on AutoPilot — double-check that all content, links, and images are correct and ready to send.
Want to take your emails a step further? Learn how to customize your email newsletter template to make every send perfectly match your brand!