Contents
- Adding Specials
- Editing Specials
- Promoting Specials on Social Media
Enable Social Posting
Adding Multiple Images
Managing Scheduled Specials Posts - VIDEO: Why Use Specials with SpotHopper?
WATCH: Why Use Specials with SpotHopper?
Adding Specials
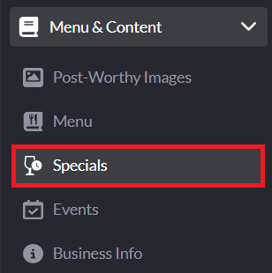
- Navigate to the "Specials" tab under "Menu & Content."
- Find the day of the week you’d like to add a special for, then enter the details/description in the box provided.
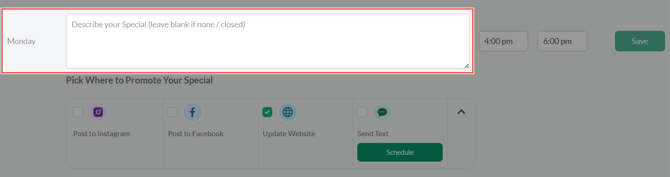
- Next, add the start and end time to specify when the special will be available.
-png.png?width=670&height=172&name=annotely_image%20(100)-png.png)
-
If you’d like the special to appear on your website, make sure the Update Website box is checked.
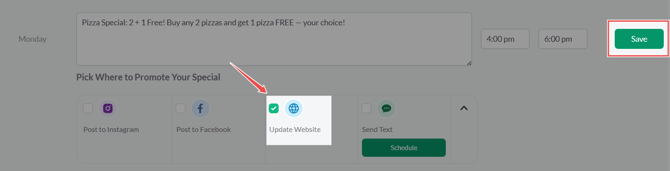
When you’re done, click Save — your updates will automatically appear on the Specials page on your website.
-
Once your special is saved, a camera placeholder box will appear on the left. Click this box to add a photo for your special.
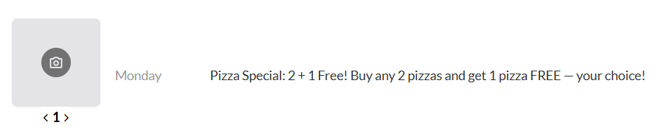
You can choose an image from your SpotHopper gallery or upload a new one directly from your device.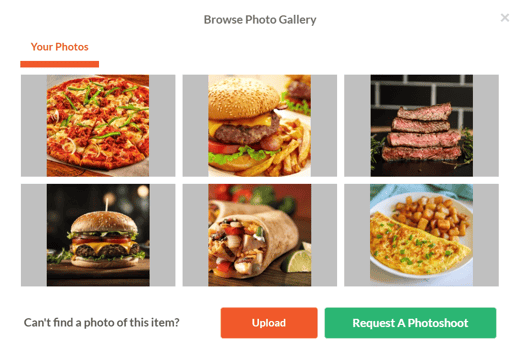
💡Tip: If enabling social media posts, upload more images for your specials so the system can create more varied content and avoid reusing the same images too often. - If you want to add multiple specials for the same day (e.g., lunch and dinner), just click the orange "Add another special" button found in the lower-left corner of your saved special.

Editing Specials
You can easily make changes to your existing specials at any time — whether you need to update a description, adjust the timing, or swap out an image.
- Find the special you want to edit on the Menu & Content → Specials page, and click the pencil icon on the right.

- This will open the editing view, where you can edit the description and time. Make sure to save the changes when done.

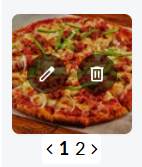
- To edit an image, hover over the existing photo and click the pencil icon on the image box to upload a new one or choose a replacement from your SpotHopper gallery.
- If you want to delete a special entirely, click the trash can icon on the far right of the special.

Promoting Specials on Social Media
Once your specials are set up, you can easily promote them across your connected social media channels — Instagram and Facebook — directly from the Specials tab.
1. Enable Social Posting
On the Specials page, you will see social media boxes below each of the added specials.

-
Check the boxes for Instagram and/or Facebook to enable automatic post generation.
-
When checking the box, you will notice that the platform gives you different post frequency options.
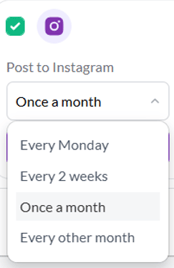
Use this to choose how often SpotHopper should automatically post about that special:
-
Every week (e.g., every Monday, every Tuesday...)
-
Every 2 weeks
-
Once a month
-
Every other month
-
- Once you check the box and choose the frequency, a Preview button will appear. Clicking this will open the generated IG or FB posts so you can view them.
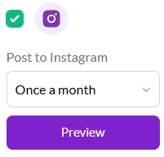
⚠️If you check a social media box but don’t choose a posting frequency, SpotHopper will automatically use the default setting — Once a month —to create monthly posts promoting your special.
If all social boxes are left unchecked, SpotHopper will not publish your specials automatically — even if auto-posting is enabled.
2. Adding Multiple Images 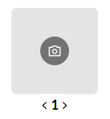
If you haven’t already added an image when setting up your special, click the camera icon on the image box to upload one or choose a photo from your SpotHopper gallery.
You can upload multiple images for each special. SpotHopper will automatically rotate through them in recurring posts, keeping your content fresh and engaging each time it’s shared.
To add more than one image:
-
 Look for the numbers and arrows below the camera icon (for example, “< 1 2 >”).
 -
Image 1 is your main photo.
-
To add another, click the right arrow ( > ) to move to the next image slot (e.g., “2”), then click the camera icon again to upload an additional photo.
-
Repeat this process for as many images as you’d like to include.
💡Adding several photos keeps your posts visually varied and engaging, helping showcase different items or angles over time.
3. Managing Scheduled Specials Posts
Navigate to the "Instagram Posts" or "Facebook Posts" tab under "Marketing."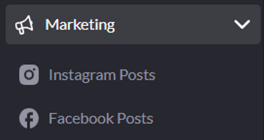
Click the "Filters" button in the top-right corner of the page. To view only your specials posts, toggle off all other categories and leave Specials active.
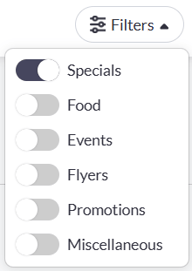
This will display a list of all social media posts generated from your specials.
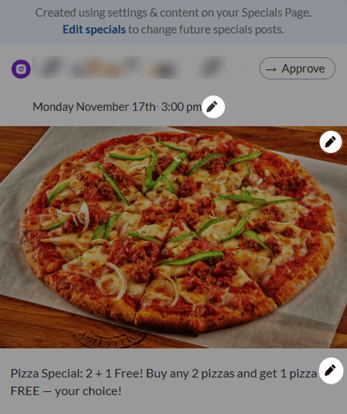
Activating Posts:
- If your posting is not set to AutoPilot, you will need to manually approve your posts so they can go out.

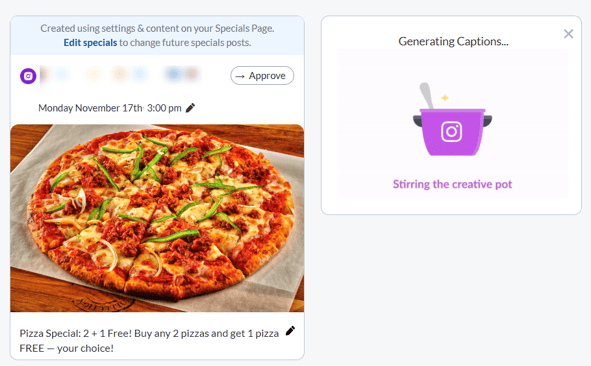
Click the green "Approve" button below the post you’d like to activate.
Once approved, it will be scheduled according to its assigned posting time.
Editing Posts:
Click the associated pencil icon to edit the posting date/time, image, or captions.
AI Rewrite:
Below each specials post, you will see a purple "AI Rewrite" button.
Clicking this will initiate the AI caption generation process — you’ll see the platform begin “stirring the creative pot” as it crafts new caption ideas.
Once complete, SpotHopper will generate a set of engaging, emoji-rich captions for you to choose from. You can further edit these captions to match your brand’s tone and style.
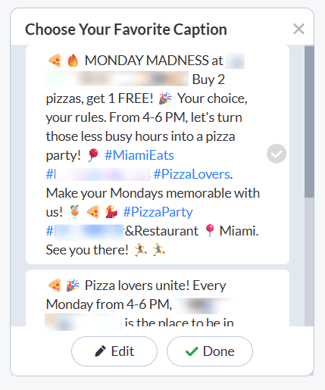
The AI rewrite feature is especially useful if you have multiple posts scheduled for the same special, helping you avoid repetition and keeping your content varied and fresh.