Contents:
Starting an Online Order
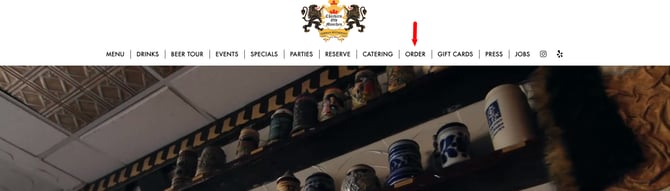
Once your SpotHopper Online Ordering system has been activated, customers can access the Online Ordering page in several ways depending on your website setup—such as through the Order navigation tab, a homepage Order Online button, or a pop-up.
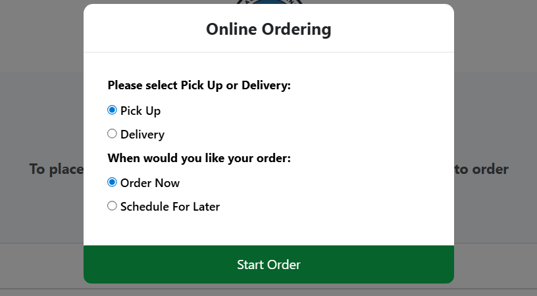
When the ordering portal opens, a pop-up appears prompting customers to choose the details of their order.
-
Order Type (Pickup or Delivery):
Customers only see pick up and delivery options if both are enabled in your SpotHopper settings. If only one option is available (for example, Pick up), the system selects it automatically, and the customer won’t be shown a choice. -
Order Timing (Order Now or Schedule for Later):
-
Order Now is available only during your operating hours, when the current time is not within a blocked-off period, and when it meets the rules set in your online ordering scheduling settings.
-
Schedule for Later lets customers choose a future date and time. The available dates and time slots depend on your operating hours, any blocked-off days, and the scheduling settings configured in your online ordering settings.
-
Adding Items to Cart
Once customers click "Start Order," the pop-up closes and they're brought to the main ordering page.
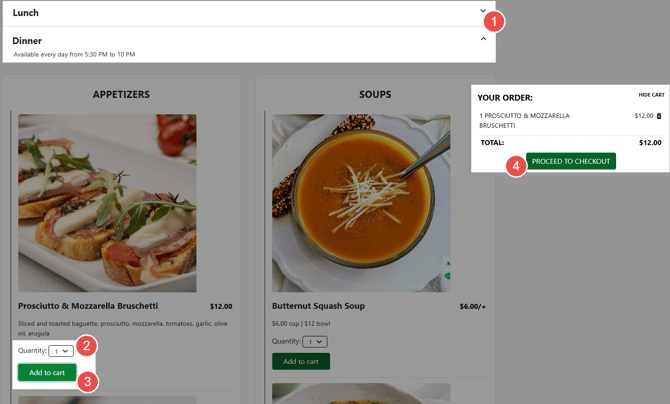
This page is organized by menus—such as Dinner, Brunch, or Catering—and customers can expand any menu to view its contents.
Within an open menu, they may also see menu sections (if any are set up), like Appetizers, Soups, or Entrees. Each section includes the individual menu items available for the order type and time the customer selected.
📌 The ordering page displays the menus and items that are available for online ordering. Customers will also only see items that match the order type they selected. For example, items marked as Pickup-only will not appear when a customer is placing a Delivery order. To configure your menus for online ordering, check out this article.
How customers browse and add items:
-
Menus: Customers can click a menu to expand or collapse it, allowing them to move through menus quickly and browse items more easily.
-
Select Quantity: For each menu item, customers choose the desired quantity using the dropdown selector.
-
Add to Cart: After selecting the quantity, customers click "Add to cart" to add the item to their order. They can continue browsing other menus and sections and add as many items as they need.
-
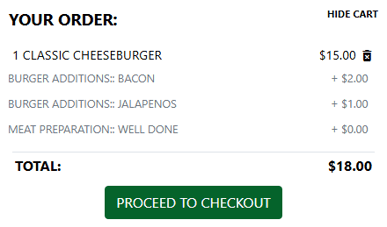
View Cart & Proceed to Checkout: As items are added, the cart on the right updates automatically, showing each item and the running total. When customers are ready to order, they click PROCEED TO CHECKOUT.
Menu Items with Extra Options/Additions
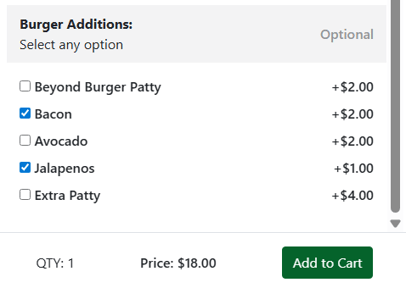
If a menu item includes extra options or required choices, customers will be prompted to make those selections when they click "Add to cart."
For example, in the screenshot below, the Onion Rings come with a choice of dip. When the customer adds Onion Rings to their cart, a pop-up appears prompting them to choose their preferred dip.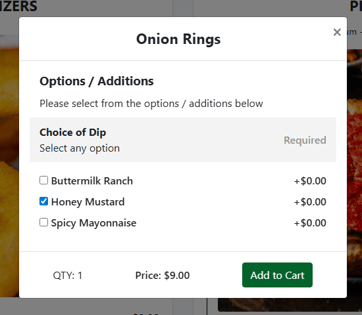
If any additions come at an extra cost, the price at the bottom of the pop-up will update to reflect the new total.
Once added, customers will also see a breakdown of any extra options or additions within their cart.
Checkout and Payments
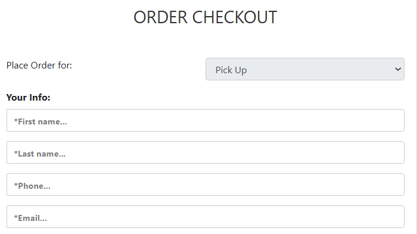
When customers reach the checkout page, they review their order and enter the information needed to complete it. The sections on this page are organized as follows:
Contact Details
For pickup orders, the customer will need to provide their basic contact info at the top of the checkout page.
For delivery orders, they will also need to provide their address.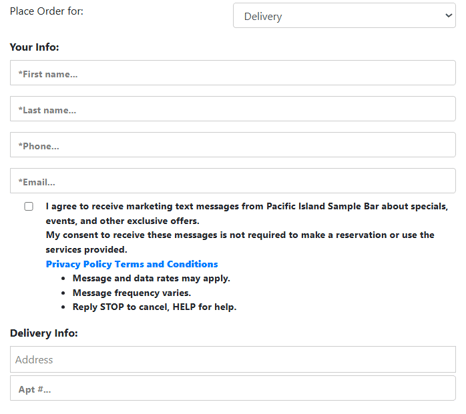
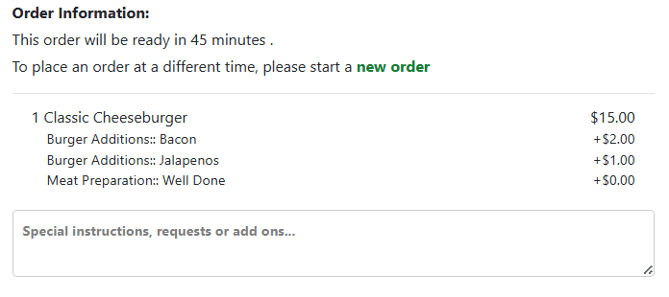
Order Info
Below the contact details, customers will see a full breakdown of their order, along with a note indicating when the order will be ready.
-
If they are scheduling for later, this section displays the exact date and time they selected.
-
If they are ordering now, this section uses the turnaround time you set on the Online Ordering Settings page to estimate when the order will be ready.
For example, if your turnaround time is 45 minutes, the checkout page will display:
"This order will be ready in 45 minutes."
Customers also have a field here where they can add special requests or instructions for the restaurant.
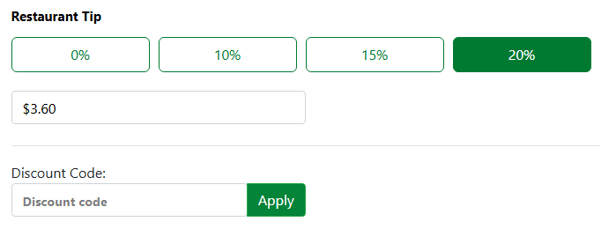
Restaurant Tip and Discount Code
Customers can choose a restaurant tip using the preset percentage buttons or by entering a custom amount. They may also choose not to leave a tip.
Note: The tip section is required and cannot be removed from the checkout page.
Below the tip area, customers will see a Discount Code field. If they have received a promo code through one of your incentives, they can enter it here to reduce their order total.
Paying / Submitting the Order
Below the restaurant tip will be the total amount they need to pay, including taxes, fees, and tips. Depending on your payment configurations, the customer can either pay at checkout or submit the order and pay later:
-
If online payments are enabled:
Customers click Next: Add Payment and enter their card information.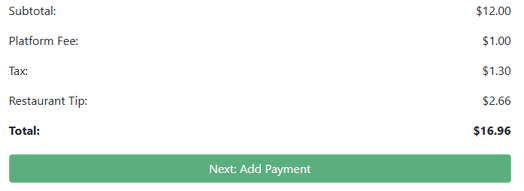
-
If payment is collected on pickup/delivery:
No payment information is required. The customer is informed that payment will be collected in person when they receive their order.
Finally, once the order has been placed, the customer will see the confirmation pop-up and will also receive an email with the order details.

⚠️ Important Reminder: For online payments, you must manually accept the order for the captured funds to be transferred to your Stripe account. If an order is not accepted within 7 days, the payment will not be processed and you will not receive the funds.