Contents:
- Getting Started
- Marketing Priorities (Promotional Sliders)
- Menu Settings
- Business & Contact Information
- Photo Gallery
Getting Started with the Business Info Page
The Business Info page contains settings and details that affect how your account is configured and promoted through SpotHopper. It includes sections for marketing priorities, menu-related options, and important business and contact information.
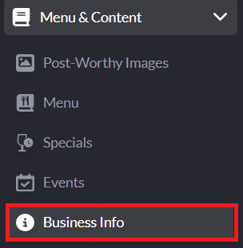
To access this page, log in to your SpotHopper dashboard, navigate to "Menu & Content," and click the "Business Info" tab.
Taking a few minutes to review your Business Info page helps ensure your settings are configured correctly and that important information is accurate.
Marketing Priorities (Promotional Sliders)
Within the Business Info page, you’ll find the Marketing Priorities section. There are 18 promotional sliders that tell SpotHopper what is important to your business and what we should focus on when running marketing campaigns.
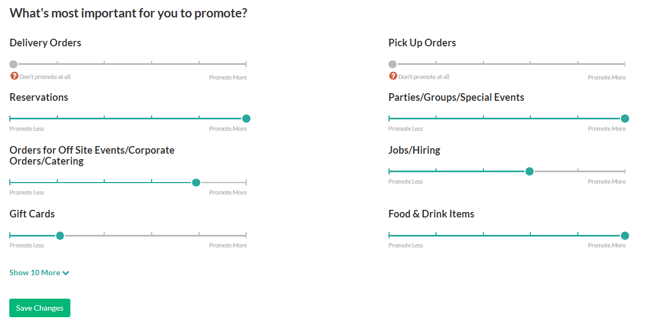
Each slider reflects how strongly you want a specific feature to be promoted. If a slider is set all the way to the left (Promote Less), SpotHopper will treat that feature as something you do not want to promote — even if it is enabled in your account.
For instance, if you are using SpotHopper's reservation system, but the reservations slider is set to Promote Less, reservation-related marketing campaigns, such as email blasts, will not be sent.
Move sliders to the left for features you do not want SpotHopper to promote, and to the right for features you want to actively promote. Once you’ve made your selections, click Save Changes to apply them.
Menu Settings
Below the promotional sliders, you will find some settings related to your menu:
Menu Call Instructions
This option allows you to add instructions to your menu for calling to place pickup or delivery orders.
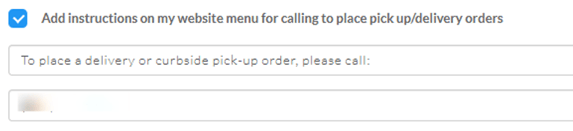
When enabled, the custom text and phone number entered here will appear at the top of your website's menu page, providing guidance for guests who prefer or need to place their orders by phone.
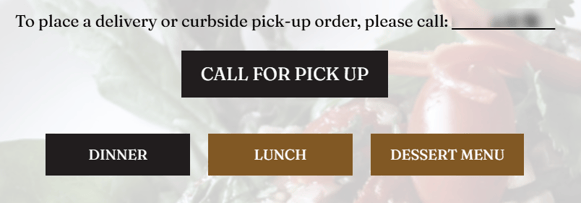
This is especially helpful for businesses that do not use online ordering or want to direct guests to call for certain order types.
Contactless Menu Display
Below the call instructions, you will find the "Collapse all menus on the page" field. This controls how menus appear on your contactless menu page.

Enabling this option will cause menu sections on your contactless menu page to load in a collapsed state, requiring guests to tap to view each section.
Collapsed Menu View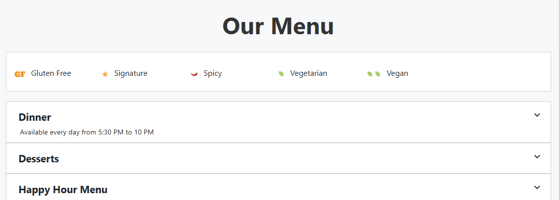
If the box is left unchecked, the top menu will appear expanded by default.
Expanded Menu View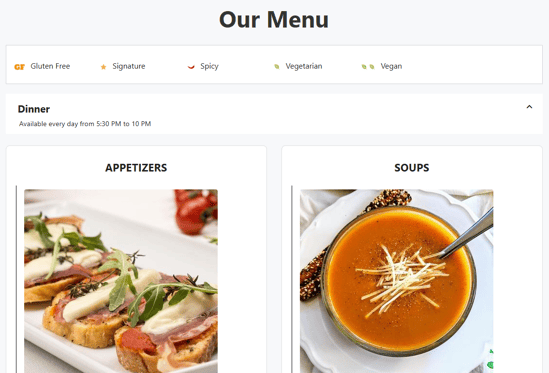
Business & Contact Information
As you continue down the page, you’ll find the Business & Contact Info section. This is where you can review and maintain important details about your business.

Use this section to confirm that your contact information, business categories, and license-related details (such as liquor licenses) are accurate and up to date. Keeping this information current helps ensure SpotHopper is using the correct details across your account.
Important: The address, phone number, and email entered in this section are displayed on your website. Keeping this information accurate helps prevent missed calls, lost orders, or guest confusion.
Photo Gallery
Toward the bottom of the page, you’ll find your Photo Gallery, which displays all images currently uploaded to your account.

Adding photos
To upload a new image, click Upload Photo above the gallery and select a file from your
computer. Images must be uploaded one at a time.
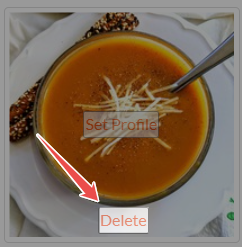
Removing photos
To delete an existing image, hover over the photo, click Delete, and confirm when prompted.
Keeping your photo gallery up to date helps ensure the images associated with your account accurately reflect your business.
To control which photos appear on your homepage gallery, go to Website → Photo Gallery. From there, you can select which images are shown—checked photos are currently displayed on your website, while unchecked photos will not appear.

For more information on updating website photos, see:
👉 How to Update Your Homepage Photos