Contents:
- Activating the Feature
- General Page Settings
- Customizing the Inquiry Form
Available Occasions
Capacity Settings
Event Spaces
Timing Settings
Texting Permission - Notification Settings
- Auto and AI/Template Responses
- WATCH: How to Manage Large Group/Private Party Reservations
WATCH: How to Manage Large Group/Private Party Reservations
Activating the Feature
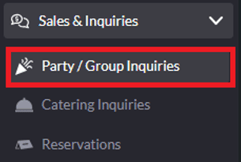
1. To begin, navigate to the "Party/Group Inquiries" tab under "Sales & Inquiries" on the left sidebar of your SpotHopper admin.
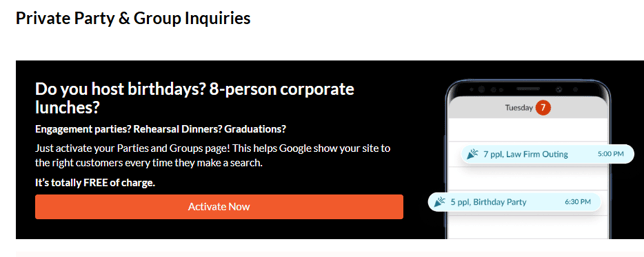
2. If the feature hasn't been activated yet, click the "Activate Now" button.
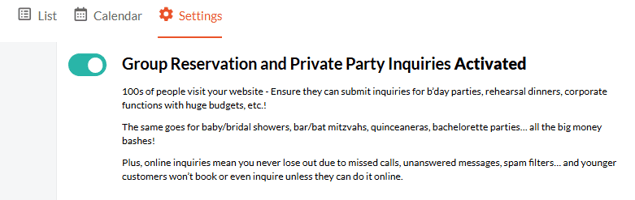
3. Go to the "Settings" tab at the top of the screen. The activation toggle should be turned on.
General Page Settings
The General Page Settings let you customize the look of your Private Parties inquiry page, ensuring it reflects your brand and creates an inviting experience for guests.
Layout
-
Page Title: This is the headline that appears at the top of the inquiry page. Use something clear and descriptive, like “Private Parties & Group Reservations.”
-
Description: Add a short, welcoming message that encourages guests to inquire about hosting their event.
-
Images: Upload photos of your venue or event setup that will be displayed next to your inquiry form.

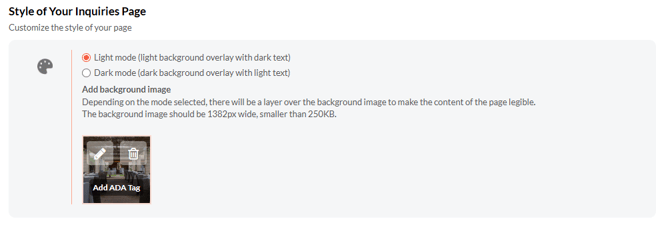
Style
-
Color Mode: Choose between Light Mode (light background, dark text) or Dark Mode (dark background, light text).
-
Background Image: Upload an optional background image to personalize your page.
Customizing the Inquiry Form
The Inquiry Form Settings customize your inquiry form by letting you choose which event types, capacity limits, spaces, and timing options are available to guests.
Available Occasions
Select which event types your venue offers for private bookings. These will appear as options for guests to choose from on the inquiry form.

Your guests can also select “Other” to specify a custom occasion not listed.
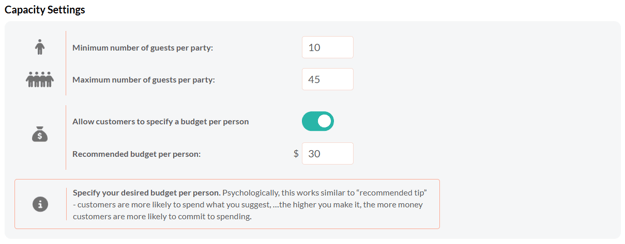
Capacity Settings
This defines the group sizes and budgets your venue can accommodate. Setting realistic limits helps prevent unmanageable or mismatched inquiries.
-
Minimum number of guests per party: The smallest group size you accept (e.g., 10).
-
Maximum number of guests per party: The largest group size your venue can host (e.g., 150).
-
Allow customers to specify a budget per person: Toggle this on to let guests enter their estimated spend.
-
Recommended budget per person: Enter a suggested starting point (e.g., $20).
💡 Tip: The recommended budget functions like a “suggested tip.” Setting a higher suggestion often increases the final spending commitment from guests.
Event Spaces
If your venue offers multiple spaces for private events—such as a patio, private room, or beach bar—you can list them here so guests can choose their preferred area. This helps streamline inquiries and saves you time managing requests.
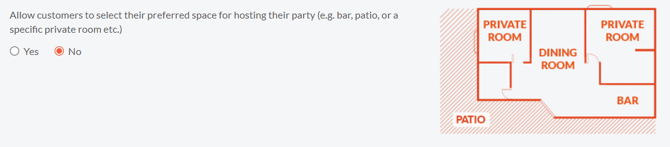
Click "Yes" and set up the details.
-
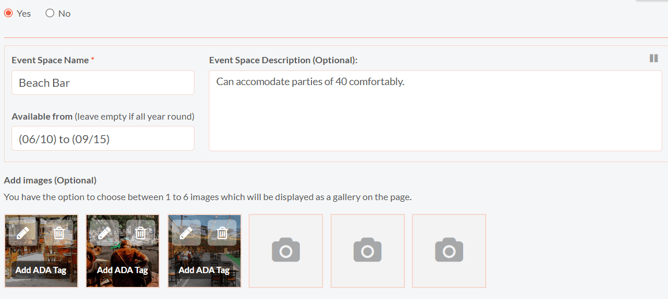
Event Space Name: Enter a descriptive name for each space (e.g., Beach Bar, Main Patio).
-
Event Space Description: Optionally, include a short description that highlights the space’s size, features, or capacity.
-
Available From: Specify availability dates if the space is seasonal (e.g., June 10 – September 15). Leave blank if available all year.
-
Images: This is optional, but you can upload up to six images per space to display as a gallery.
Pausing a Space
If a space is temporarily unavailable—for example, during renovations or off-season—you can pause it without deleting it.
In the upper-right corner of each Event Space box, you’ll see a Pause icon. Click it to temporarily disable that space.

When paused, the space will appear as "currently unavailable" on your inquiry form, and customers will not be able to select it.
Important: If the multiple event spaces option is enabled, you must have at least one space marked as available. Otherwise, your customers will not be able to submit their inquiry.
Tip: The play and pause icons help you easily identify which spaces are available on the inquiry form:

Timing Settings
Set scheduling rules for how soon guests can book and what time slots are available.

-
Minimum Turnaround Time: The number of hours required before a requested event date (e.g., 24 hours).
-
Start time increment: Sets how frequently available time slots appear (e.g., every 15 minutes → 7:00, 7:15, 7:30…).
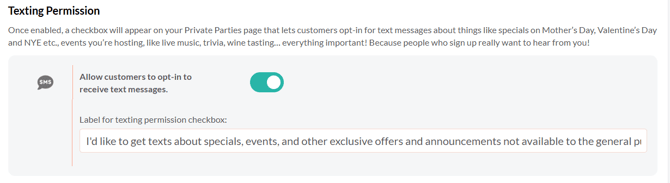
Texting Permission
Enabling this section allows guests to opt in to receive marketing text messages from your venue.
Notification Settings
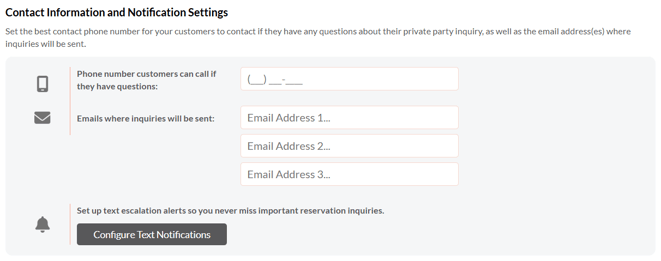
The Contact Information and Notification Settings section ensures all private party inquiries reach the right team members. Add your venue’s main contact details and set up alerts so you never miss a request.
-
Phone number customers can call if they have questions: Enter the best number for guests to reach your venue directly.
-
Emails where inquiries will be sent: Add up to three email addresses that will receive inquiry notifications.
-
Configure Text Notifications: Click Configure Text Notifications to set up text alerts for your team. This ensures important inquiries are seen quickly, even if email notifications are missed.
Auto Responses and AI/Template Responses
If you've already upgraded to our new inquiry details page, then your Settings page will also include the Auto Response and AI &Template Response features.
Auto Responses
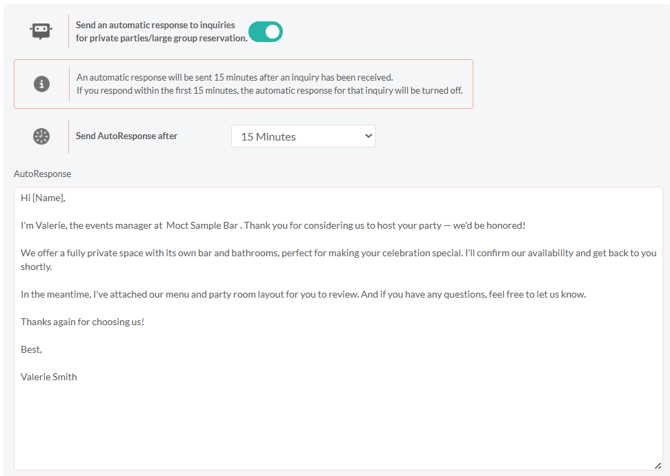
Auto responses let you automatically send a personalized reply to guests after they submit a private party inquiry. This helps you respond quickly, even outside business hours, and keeps guests engaged while they wait for a follow-up.
-
Send an automatic response to inquiries: Toggle this setting On to enable automatic replies.
-
Send Auto Response after: Choose how long after an inquiry is received the response should be sent (e.g., 15 minutes).
Note: If you manually respond before the selected time, the automatic response for that inquiry will not be sent.
-
Auto Response Message: Customize the message guests receive after submitting their inquiry. You can include your name, a thank-you note, and any helpful details about your event options.
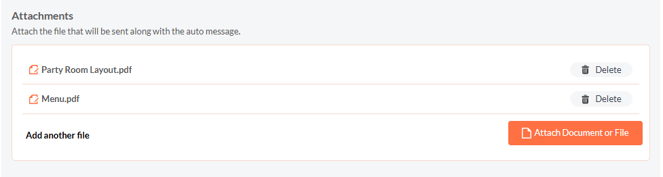
- Attachments: You can attach relevant files, such as menus or floor plans, to be sent automatically with your message.
AI & Template Responses
If your subscription includes Event Planner and you have switched back to the Old Inquiry Details Page, you will have standard responses available and no AI pre-written responses.
AI Responses are available with the New Inquiry Layout and are automatically-generated replies based on the guest’s inquiry to help you respond quickly and professionally.
When responding to an inquiry in the New Inquiry Layout, you can choose to send:
-
The AI-generated response, or
-
One of your saved Template Responses
On the Settings page, you can create and manage your own Template Responses. These allow you to pre-write common replies so your team can respond to party inquiries consistently and save time.

Answer Types
Choose from several response types to fit the situation:
-
All Set: Confirms a booking or inquiry.
-
Ask for Confirmation: Requests confirmation from the guest.
-
Send Info: Provides additional details, such as menus or event options.
-
Ask for Info: Requests more details from the customer about their event.
-
Decline: Politely informs the guest that you can’t accommodate their request.
-
Offer Alternative: Suggests a different date, time, or option if their first choice isn’t available.
You can also assign a status to each response type (such as Confirmed, Cancelled, or Waiting on Customer) to keep inquiries organized.
When done updating the Settings p age, make sure to hit the "Save" button in the lower-right corner to apply the changes.
If you haven’t switched to the new layout yet, you can upgrade for free to unlock these responses and access the improved page.
Simply open any inquiry and click "Switch to New Layout" at the top of the page.

Consider: EventPlanner - Advanced Inquiry Management
Don’t miss out on bookings because you’re managing everything manually — with Event Planner, you can handle every step of the process faster and more professionally, all within SpotHopper.
-
Send e-contracts guests can sign online to confirm bookings quickly and securely.
-
Create and send payment proposals or deposit requests in just a few clicks.
-
Include attachments and visuals in your messages to showcase your space and leave a lasting impression.
Ready to simplify your process and start securing more events with ease?
Learn more about Event Planner →
How To Configure Inquiry Notifications | Never Miss a Big Ticket Inquiry