Contents:
- Selecting Standard Promotions
- Customizing Your Active Promotions
- Website (Header/Pop Up) Marketing
- Email Marketing
- Texting Marketing
- Socials (Facebook & Instagram) Marketing
Standard Promotions are pre-built, ready-to-launch marketing templates for holidays, national days, sporting events, and ongoing offers. Each includes default content and flyers and can be activated with just a couple of clicks or easily customized to match your brand.
Selecting Standard Promotions
1. Navigate to the "Campaigns & Promotions" tab under the "Marketing" cluster.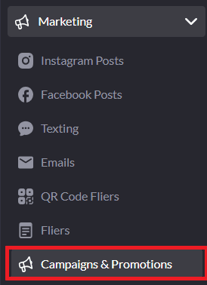
2. Here, you can select any promotion that applies to you - simply click the relevant promotion to activate it. A green check mark will appear to indicate that the promotion is live.

3. Quickly preview what you have configured for each promotion by checking the icons within the active promotions section.

Consider this example of the Valentine's Day blast below.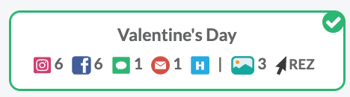
- By using the preview icons on this "Valentine's Day" promotion above, it's clear that it has the following created.
- 6 Instagram posts

- 6 Facebook posts

- 1 Text blast

- 1 Email blast

- A 'header' for website marketing

- 3 associated pictures (for the social media posts)

- CTA (Call-to-action) that links customers to the Reservations website page

- 6 Instagram posts
An active promotion ![]() may be scheduled to start later. Hover over it to see the exact start and end times.
may be scheduled to start later. Hover over it to see the exact start and end times.
Customizing Your Active Promotions
To customize an active promotion, you can hover over it and click Edit.-png-1.png?width=595&height=158&name=annotely_image%20(5)-png-1.png)
Alternatively, you can navigate to the "Customize Promotions" tab from the top of the page. This will bring you to a list of all the promotions that you've selected.
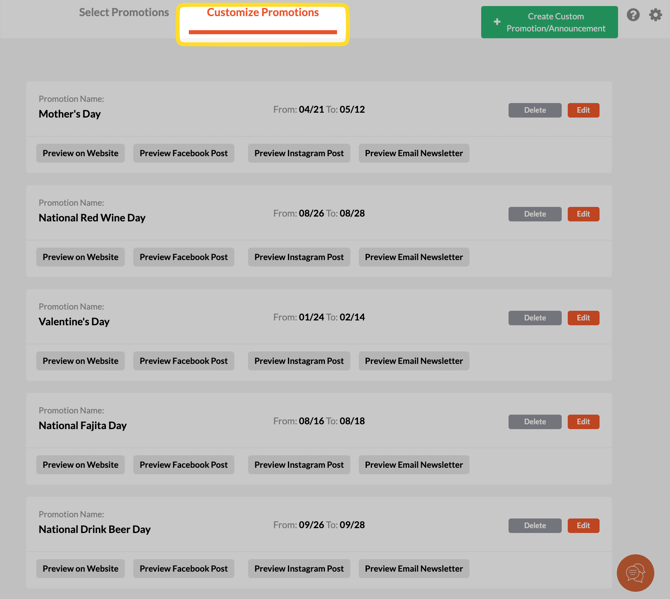
💡 Tip: Press Ctrl + F (Windows) or Command + F (Mac) to search this page by promotion name.
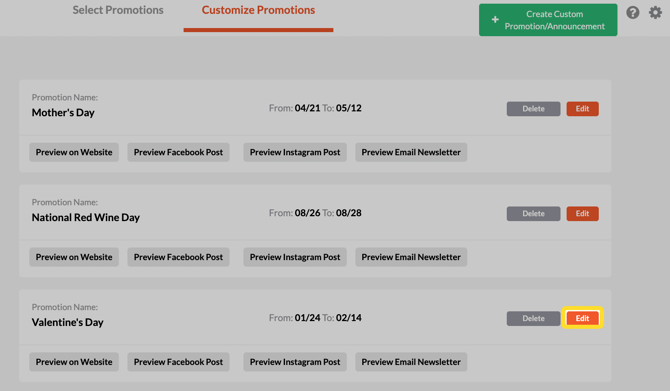
To customize or edit any promotion, click "Edit" on the right of the promotion that you're interested in updating.
When you click Edit, the standard promotion template will open, pre-filled with default content. You can customize each marketing channel (website, email, text, and social) and set how and when the promotion appears to customers.

Website Pop Up/Header Section

- Choose the timeframe for your website promotion. Note: If multiple pop-ups or headers are active at once, they’ll rotate randomly.
-
Select a display type - header or pop-up.
a) Header
b) Pop-up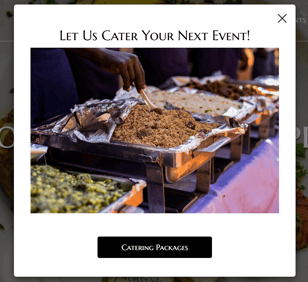
- Select an image. If you've selected a pop-up, you can choose an image for the website promotion.
- Add an ADA tag to your photo. This helps maintain ADA compliance and supports SEO, as Google uses ADA tags to understand on-page content.
- Enter your promotion details. For pop-ups, you can add a title, subtitle, and pop-up content. For headers, you will only have a field for "header content."
- Choose where to direct your customers by selecting a CTA (Call to Action). Add in a custom URL - perhaps for a musical guest or fundraiser site - or simply link to a page on your site. You can set the name of the button, as well.
- Click "Next' to save your progress and go to the next marketing channel.
Note: If your standard promotion is for a single-day happening (like Valentine's Day or July 4th), you’ll have the option to add the event to your website’s "Events" page.
-png.png?width=670&height=363&name=annotely_image%20(59)-png.png)
Email Newsletter Section:
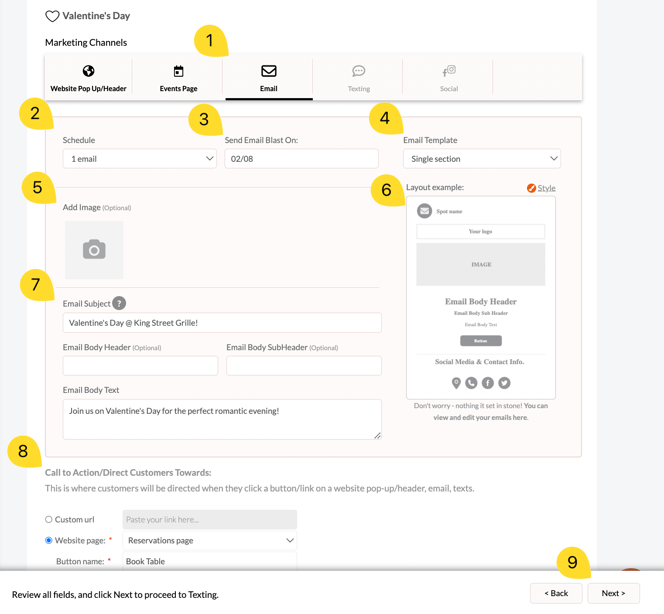
- Navigate to the "Email" tab of the template.
- Select how many emails to send. You can choose one email for promotions that have a set day (e.g. Valentine's day), or have ongoing email blasts for continous promotions (reservations, catering, etc.)
- Choose the date to send your email.
- Configure your email template type: "Single Section" - best for highlighting one main happening or promotion."Multi-Section" - formatted like a newsletter and include multiple sections to showcase a mix of happenings — like upcoming events, specials, etc.
- Select an image for your email. You can also choose a flyer.
- Preview how the properties of your email will be organized for customers.
- Add your content: Fill in the subject line, header & subheader (optional), and body text.
- Choose where to direct your customers by selecting a CTA (Call to Action). This CTA is the same for all marketing channels.If you’ve already set it for the website, it will automatically populate here.
- Select "Next" to navigate to the next marketing channel.
Texting Section
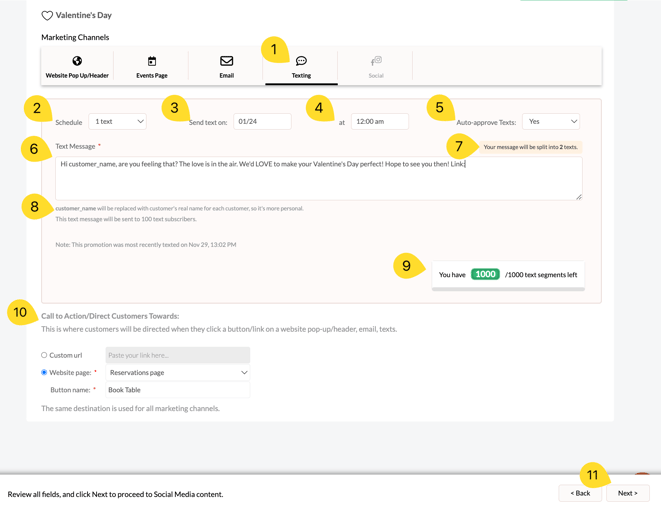
- Navigate to the "Texting" section.
- Schedule your text.
- Select the date to send your text message. You can adjust this later from the promotion or the Texting tab under Marketing.
- Choose a time to schedule your text.
- Select whether or not to 'auto-approve' your text. If auto-approve is on, you will not have to manually approve the text on the "Texting" page.
- Add your text message. Keep it short and be mindful of the character use.
- Check how many text segments the message requires. These text segments count towards your overall text segment allowance for the month.
- Estimate usage - multiply the number of subscribers by the number of text segments from step #7
- The remaining text segments for the given month. If you exceed your monthly limit, extra texts won’t send.
- Choose the CTA link/button if you haven't already. This is the same for all marketing channels.
- Select 'Next' to navigate to set up your next marketing channel.
Social (Instagram & Facebook) Section

- Navigate to the "Social" tab of the promotion template.
- Select how many posts you want to schedule. You can set up to 12 posts in total (6 FB and 6 IG posts) for one-time happenings, or choose continuous posting for ongoing campaigns.
- Choose the date or date range.
- Add images for your posts. There will be as many camera placeholders as there are posts scheduled.
- Write your initial post captions and add Instagram hashtags. This caption applies to all scheduled posts. You can edit individual posts directly on the FB and IG pages later.
- Add your CTA link/button if not already set.
- Select "Save" to secure your changes and generate the marketing for your promotion.
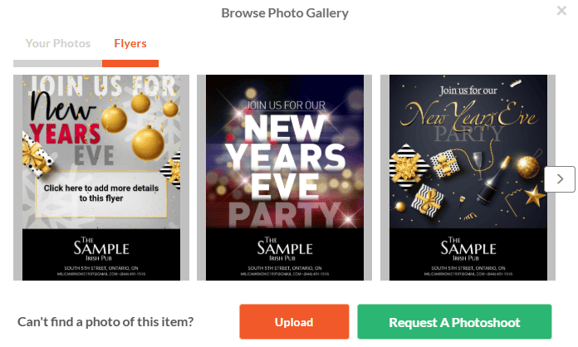
Unlike custom promotions, standard promotions include pre-uploaded flyers. When you click the camera icon to upload an image for your pop-up, email, or social post, you can upload a new image, choose one from your gallery, or select a flyer.
After setting each marketing channel for a single promotion, you can preview what you've customized by clicking the corresponding preview buttons shown below.
