Contents:
- When to Create a Custom Promotion?
- Opening the Promotion Template
WATCH: Creating Custom Promotions from the Calendar Page - Setting the Promotion Details
Website Pop Up/Header
Email Blast
Text Blast
Social Media Posts - Previewing the Custom Promotion
When to Create a Custom Promotion?
Whether it’s a special dinner, event, seasonal menu, or announcement you'd like to share, Custom Promotions make it easy to reach your guests on your website, by email, text, and social media.
Use custom promotions to spotlight unique or one-time happenings — even your most loyal customers won’t know what’s new unless you tell them!
Custom Promotions are best suited for short-term campaigns. Within a single custom promotion you can set:
- A time-limited website announcement (via pop-up or header)
- One email blast
- Up to twelve social media posts (six for Instagram and six for Facebook)
- A single text message
If your campaign is ongoing (promoting reservations, loyalty programs) or recurring (such as holiday events), use a Standard Promotion instead. Those are designed for continuous engagement and allow you to set up ongoing blasts and posts.
Opening the Promotion Template
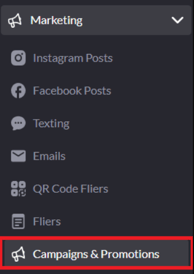
Start by navigating to the "Campaigns & Promotion" page under "Marketing."
From the top right of the page, click the green "Create Custom Promotion/Announcement" button.
-png.png?width=670&height=144&name=annotely_image%20(36)-png.png)
You’ll be taken to a blank promotion template where you can begin building your campaign.
Alternatively, you can also open the promotion template directly from your calendar homepage.
WATCH: Create a Custom Promotion from Your Calendar Page
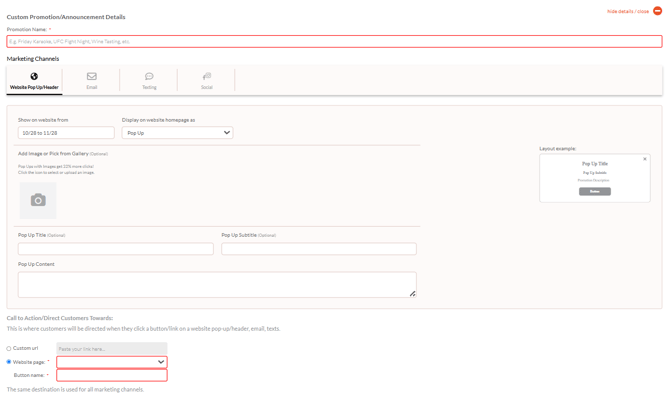
Setting the Promotion Details
Start by adding the Promotion Name, which helps you easily identify and edit the promotion later on the Campaigns & Promotions page.
⚠️ Although mainly for internal use, the promotion name also appears on website headers—so make sure it’s clear, concise, and customer-friendly.
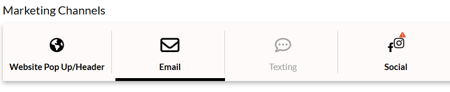
Once the promotion name is added, move through each marketing channel section (Website, Email, Texting, Social) to complete your setup.
🌐 Website Pop-Up or Header
This is the first marketing channel where you'll immediately land upon opening the promotion template.
Step 1: Choose the Display Dates
Start by choosing the timeframe when the pop-up or header will show on the website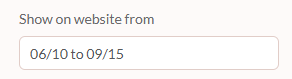
Step 2: Select Display Type
Under "Display on website homepage as," choose how your promotion will appear.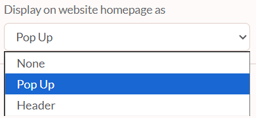
- Pop-Up – appears as a promotional window over your homepage
-
Header – appears at the very top of your homepage, above the navigation bar.
-
None – choose this if you’re not updating your website (for example, you only wish to promote via email or social media).
Step 3: Header or Pop-Up Setup
Header ![]()
In the example above, the promotion name is "The NBA is Back!"
If you've already set your promotion name, you can go ahead and add the main header content now.

Pop Up
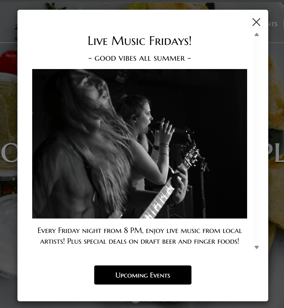
For a pop-up, the main pop-up content is required, but you also have title, subtitle, and image as optional fields.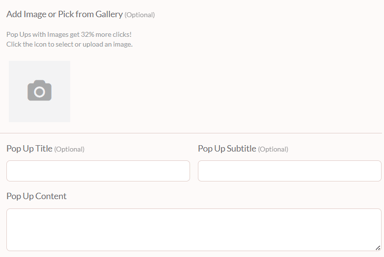
📸 Adding an image to your promotion can help boost engagement and catch visitors’ attention.
Step 4: Set a Call to Action (CTA)
Choose where customers will be directed when they click your button. 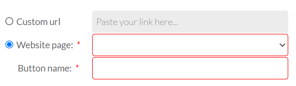
You can link to:
-
A page on your website (e.g., Menu, Events, Reservations)
-
A custom URL (you can also copy/paste external links)
Name your button with a short, action-oriented phrase like "Book Now" or "View Events."
⚠️ Note: If you choose a website page that isn’t active, the CTA will automatically default to "Call to inquire."
You can only set one CTA button per custom promotion. The call-to-action you set at this stage will apply to all marketing channels.
Step 5: Review and Continue
Check all fields and click "Next" in the lower right corner to move to the next marketing channel.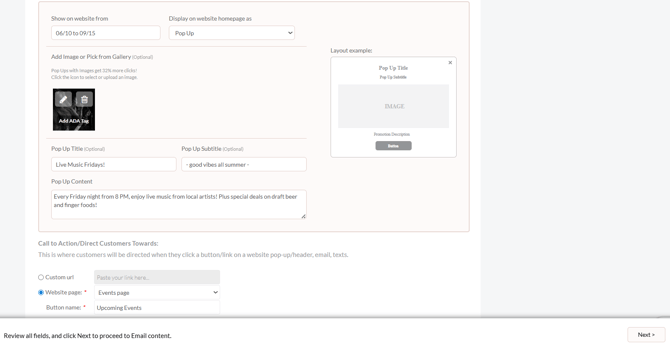
✉️ Email Blast
Under the Email tab, you can set up all the details for your email blast. More info on designing your email blast in our "How to Create Email Blasts" article.
Once your email details are set (or if you select "No Emails" to skip this step), click "Next" to move to the following marketing channel.
💬 Text Blast

Under the Texting tab, you can either choose "1 text" from the Schedule drop-down or leave the "No texts" option and move to the next marketing channel.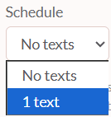
If scheduling a text blast, you can find more details in our "Scheduling & Sending Texts" guide.
"
When done, click "Next."
📱 Social Media (Facebook & Instagram)

Under the Social tab, you can schedule up to 6 posts per platform — that’s 6 for Facebook and 6 for Instagram (12 total). For step-by-step instructions, refer to our "How to Create Social Media Posts"guide.
After setting up your details (or choosing "No Posts" if you don't want to promote on social media), click the green "Save" button in the lower right corner to save and schedule your campaign.
Previewing the Custom Promotion
After saving your custom promotion, the details will collapse so you can preview how your campaign looks across all channels.
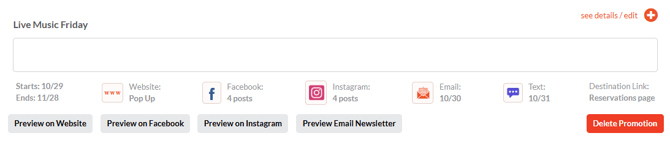
-
Preview on Website: See your pop-up or header, even if it’s not yet active (for example, when scheduled for a future date).
-
Preview on Facebook/Instagram: Opens the scheduled social media posts so you can review and make edits if needed.
-
Preview Email Newsletter: Opens the Email preview page (Marketing → Emails) to review or adjust your scheduled email blast.
-
Text Message Preview: You can find your scheduled text under Marketing → Texting. You can review and edit the text blast directly from there.
You can access all saved custom promotions on the Marketing → Campaigns & Promotion page under the Custom Promotions section.
-png.png?width=670&height=226&name=annotely_image%20(37)-png.png)
Find the promotion you're looking for, hover over it, and click the Edit button.
-png.png?width=564&height=109&name=annotely_image%20(38)-png.png)
This will open your saved promotion where you can further customize it if needed.