Contents:
- How to Create Social Media Posts From Scratch
Watch: Creating Social Media Posts From Scratch - How to Create Social Media Posts for Existing Content
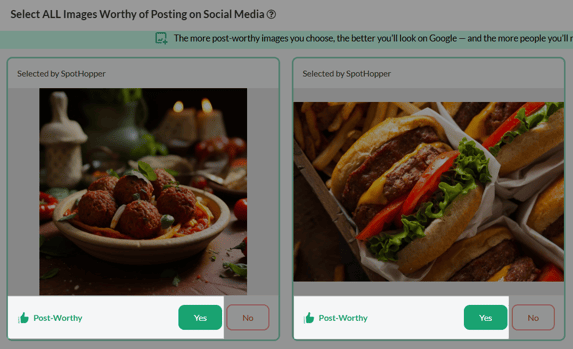
Posts about Post-Worthy Images
Posts about Standard Promotions
Posts about Specials
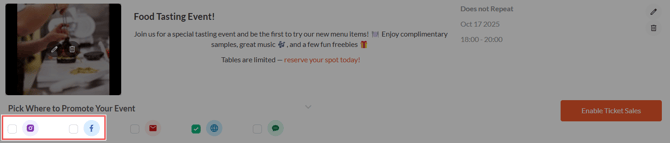
Posts about Events
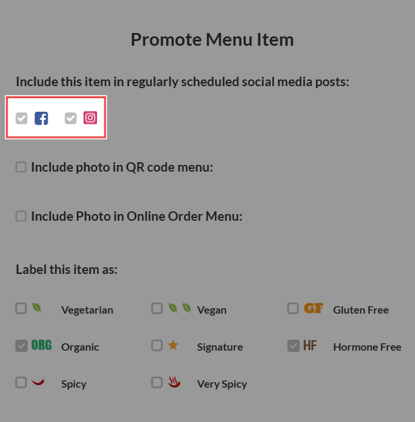
Posts about Menu Items
How to Create Social Media Posts From Scratch
🧭 Opening the Post Template
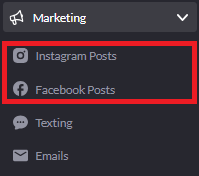
- To create a social media post from scratch, navigate either to the "Instagram Posts" or "Facebook Posts" page under "Marketing."
- In the top-right corner, click "New Post," then select "Create Custom Promotion."
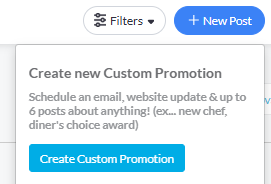
- This will open the Post template, where you can begin designing your social media post(s).
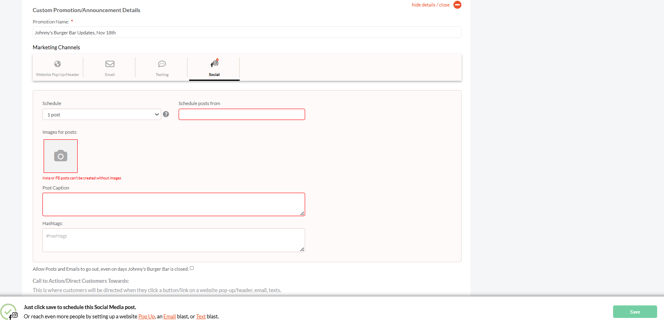
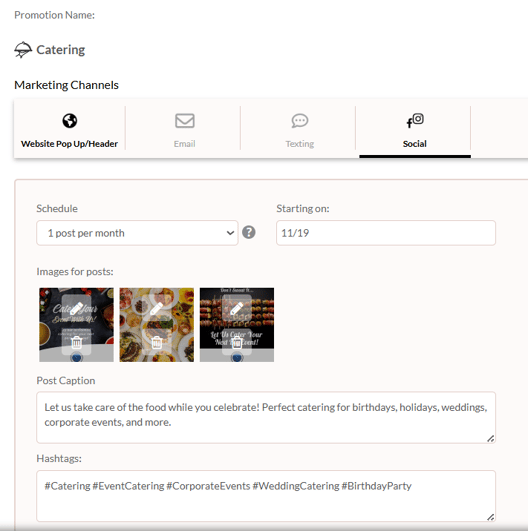
The Social channel is active by default, while Website, Email, and Texting remain off. This means your promotion will go out only as social media post, unless you manually enable other channels.
By default, the promotion name is generated in the format: “Restaurant Name Updates, Date”
You can edit this name if you’d like to easily identify your active promotion later on the Marketing → Campaigns & Promotions page.
💡Alternatively, you can open the promotion template directly from your Calendar page.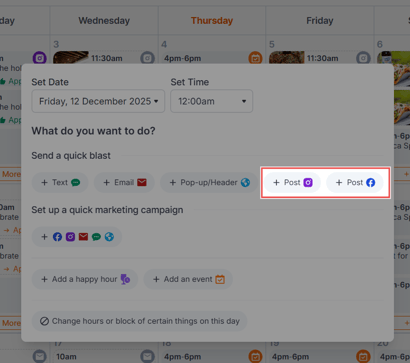
✏️ Designing Your Social Media Post(s)
With the Social Template open, you can now create and schedule your post.
- Set the Schedule
Choose how many posts you’d like to create and when they should go out.-
Open the Schedule dropdown and select between 1 and 6 posts.
Each post will automatically generate for both Facebook and Instagram, allowing you to schedule up to 6 posts per platform (12 total) within a single promotion. - Then use the "Schedule posts from" field to choose your date range.

NOTE: If you select more than one post, SpotHopper will distribute those posts randomly across the selected date range. You can adjust individual dates and times later on the Facebook or Instagram preview pages. -
-
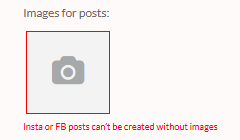
Add Images for Your Posts
Images are required for your social posts to be created.
-
Click the image box under “Images for Posts.”
-
Upload new images from your device or select existing ones from your SpotHopper gallery.
-
If scheduling multiple posts, add one image per post slot.
-
- Write Your Post Caption
Under Post Caption, write a short, engaging description for your post.
Note: All scheduled posts within this promotion will use the same caption.
You can edit this later on the preview page or use the AI Rewrite feature to generate new caption ideas. -
Add Hashtags (Instagram Only)
Below the caption, you’ll see the Hashtags field. This is optional, but adding 3-5 relevant hashtags can improve reach and discoverability.

-
Set a Call-to-Action (CTA)
At the bottom of the screen, set the CTA link to direct customers to a specific web page. This can be one of your website pages (like Menu or Reservations) or a custom URL of your choice.
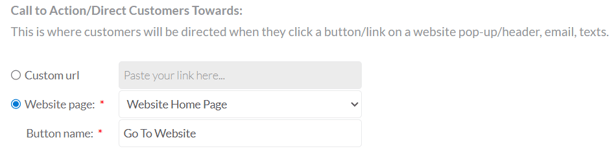
Note: The clickable CTA link appears only on Facebook posts. Links are not supported in Instagram captions.
-
Save and Schedule Your Post
Once you’ve completed all the fields, click Save in the bottom-right corner.

Your post(s) will now appear in your Facebook Posts and Instagram Posts dashboards, ready for review and approval — or will publish automatically if AutoPilot mode is enabled.
💡 Tip: From the same promotion setup, you can also create an Email Blast, Text Blast, or Website Pop-Up/Header. For info on how to set up a multi-channel promotion, check out our Creating Custom Promotions article.
Creating Social Media Posts for Existing Content
You can easily turn your existing SpotHopper content — such as specials, events, and food photos — into ready-to-post social media content.
👉 Click any of the sections below to view step-by-step guides.

After creating your social media posts with SpotHopper, you can go ahead and review, edit, or approve them to ensure your content goes out on-brand and on schedule.